What is IRC?
Internet Relay Chat (IRC) is an application protocol to do text based communication. It was created in 1988 and still being used as one of the primary communication medium for many people around the world, including various Free and Open Source software projects.
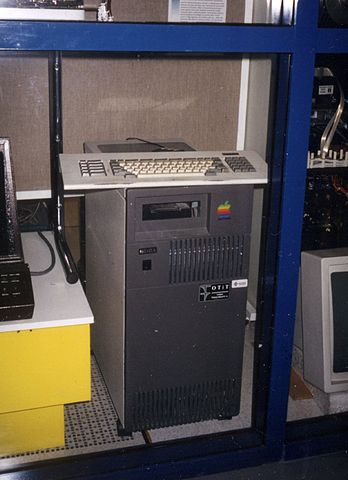
The above is the first ever IRC server (original image is from Wikimedia Commons taken by Urpo Lankinen).
We use IRC as our primary communication medium because it works with low bandwidth. You don’t need super fast internet connection to attend the summer training sessions. Also, later when you will try to contact other communities, you will find most of them are active on IRC.
What is a channel?
Every IRC server has various virtual groups or rooms where people can communicate with each other. These are known as channels. The channel names start with # sign. For example, #dgplug is the channel name on the Libera Chat server for our training.
IRC clients
There are various IRC clients, for our sessions you can use hexchat client on your computer.
hexchat
hexchat is a popular Internet Relay Chat (IRC) client. It has a choice of a tabbed document interface or tree interface, support for multiple servers and is highly configurable.
How to install?
For Fedora:
# dnf install hexchat
For Ubuntu:
# apt-get install hexchat
For windows please download hexchat from their site.
Configurations Steps
Launching Hexchat for the first time, will open the network selection window where you have to need to do the following
Put in a nickname that is fairly unique, in the Nick name box.
And an alternative in the second choice box.
Fill in the username field too (For convenience’s sake, keep it the same as your nickname)
Click the New Network name in the list below and rename it to Libera or Libera Chat.
Your window should look something like this.

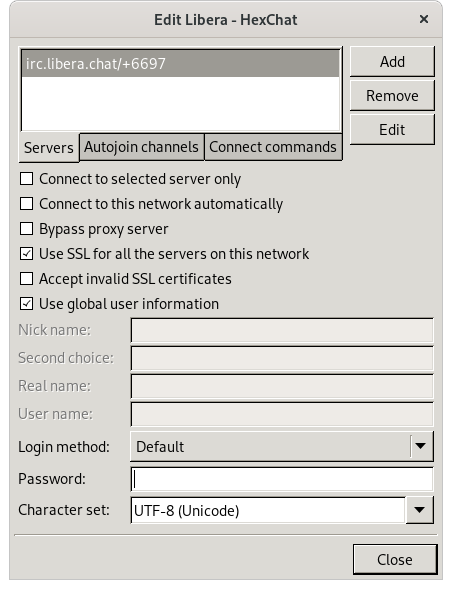
Then click the edit button on the right (in the pic above), to edit and configure the server setting to irc.libera.chat/+6697 like you see in the pic below … (also make sure that the ssl option is ticked)
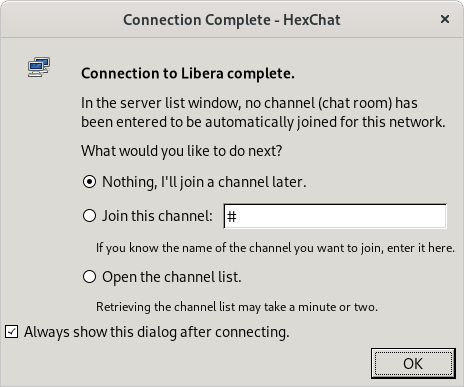
Click close and then you’ll be back at the network selection window. With Libera highlighted, hit the connect button and you should be connected to the Libera Chat IRC network. Hexchat will ask you to connect to a channel. Select the I’ll join a channel later option and hit ok.
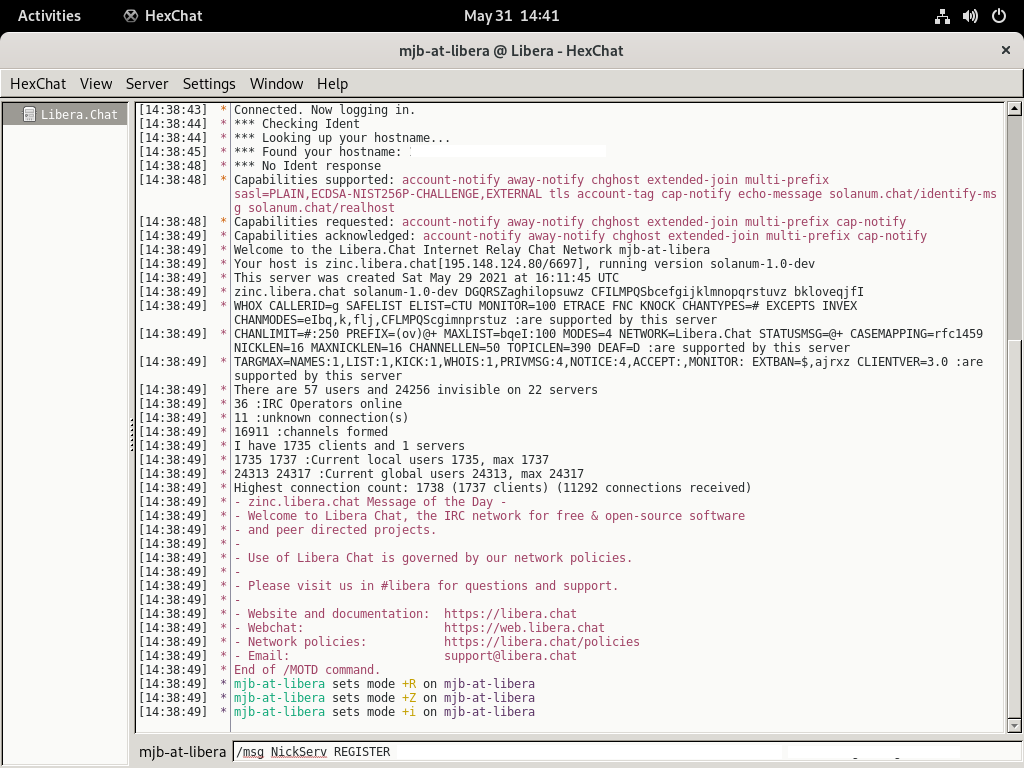
Now that we’ve connected to IRC, we need to register our nickname to make sure someone else not using it. We need to type this command
/msg NickServ REGISTER YourPassword youremail@example.com
in the tiny box at the bottom where we type in our messages and commands. Here YourPassword is some long password of your choosing (not your email account password) and youremail@example.com needs to be replaced with your email address
We’ve done this in the image below. (The email and password we’ve typed is greyed out. You’ll see it more clearly if you click the image to see a larger view. Folks reading on a cell phone, you’ll have to really zoom in.)
If all goes well the Libera Chat server, should respond with something like this

Now if we hop over to our email, we should get a email like the one below.
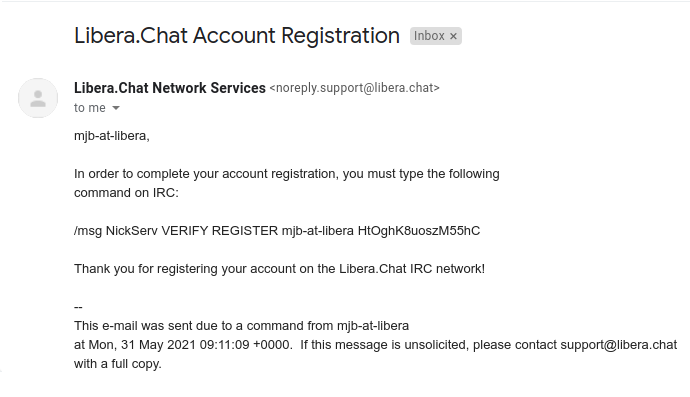
We copy the command from the email (the whole /msg NickServ VERIFY … line) and paste it into our Hexchat window and hit enter. Libera Chat should then confirm all is well like so …

Now that our nickname is registered, we can always use thi same nick by authenticating with NickServ by issuing the following command:
/msg nickserv identify your_password

#dgplug for the channel and click ok. (We can also untick the “Always show this dialogue after connection …” prompt if we so choose.)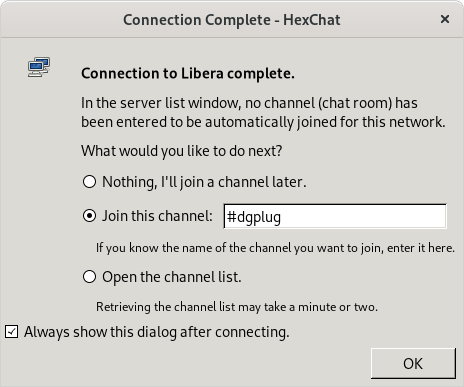
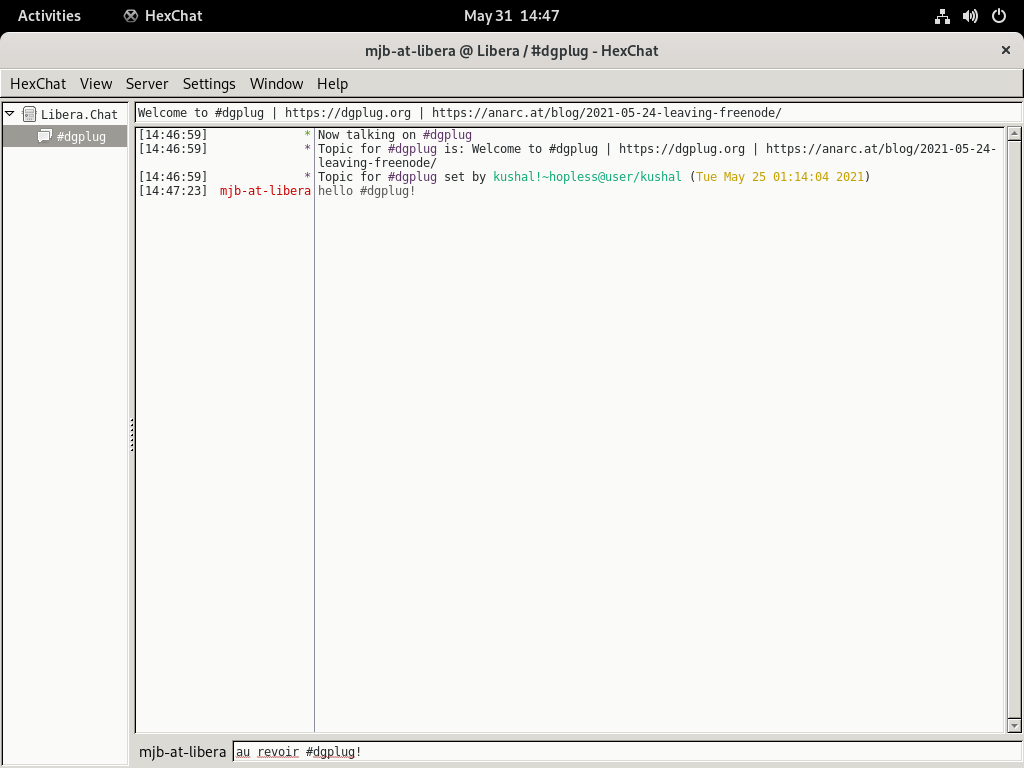
If all goes well, we should be in the #dgplug channel, all ready to chat and learn :)
IRC on the Web
While a client (xchat, hexchat, etc), on any platform, is the best way to experience IRC on a daily basis, you can in fact use your web browser to connect to IRC!
While it might not be as comfortable as a native client, irc via a browser is actually quite full featured.
It depends on you knowing commands though, so this page on the IRC beginner website will come in real handy.
So let’s start at the very beginning.
Here’s what we’d need for our summer sessions.
We need a browser
We need an username that stays the same, throughout sessions
We need to login to the #dgplug channel on Libera Chat with that username
Step 1. The Browser
Congratulations!
You’ve already have one and are successfully connected, if you’re reading this :)
Step 2. A username for IRC.
Let’s mosey over to the Libera Chat website.
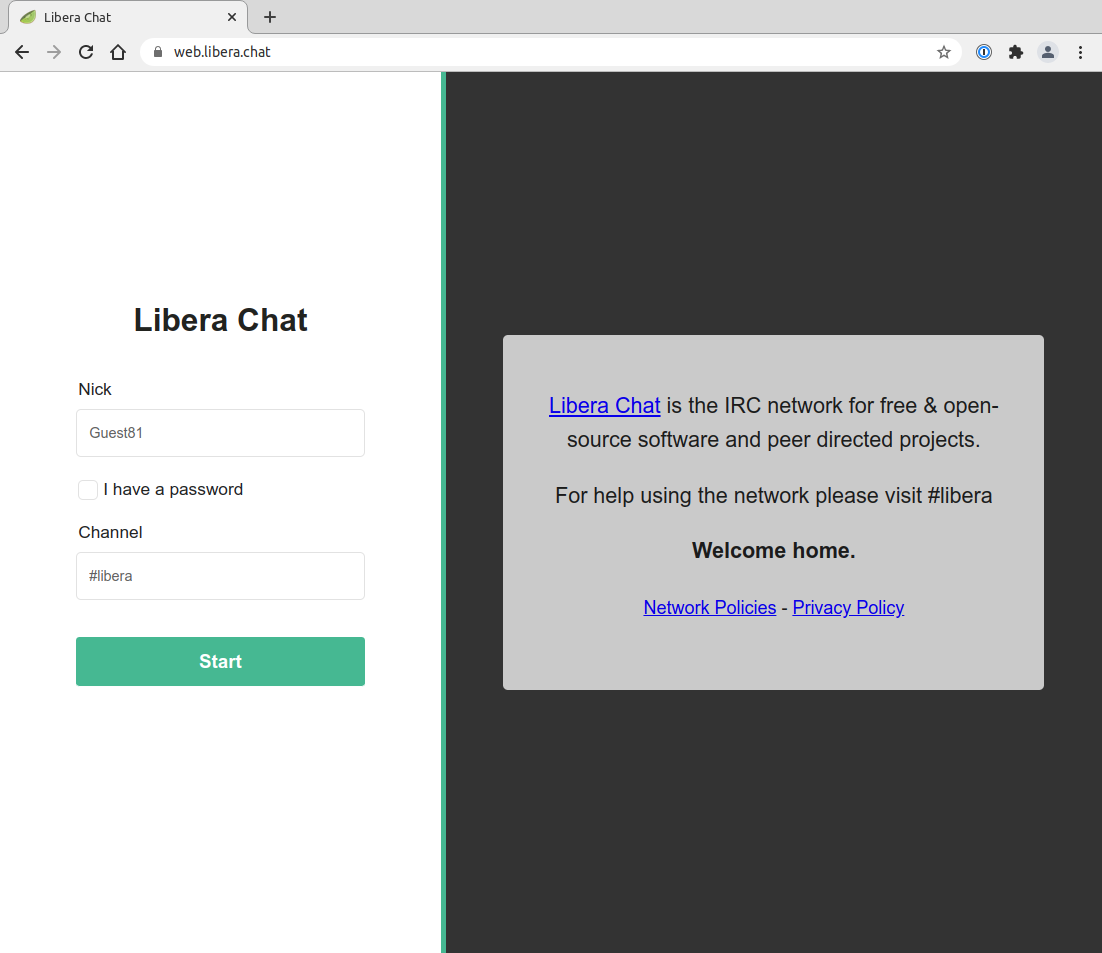
mariojason for a nick.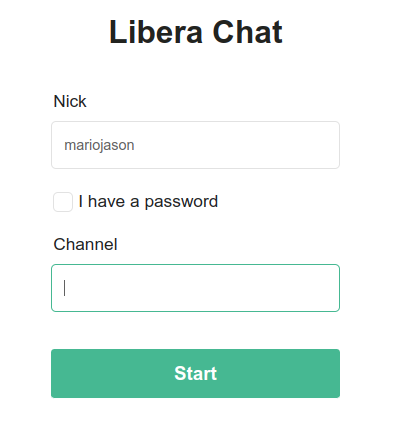
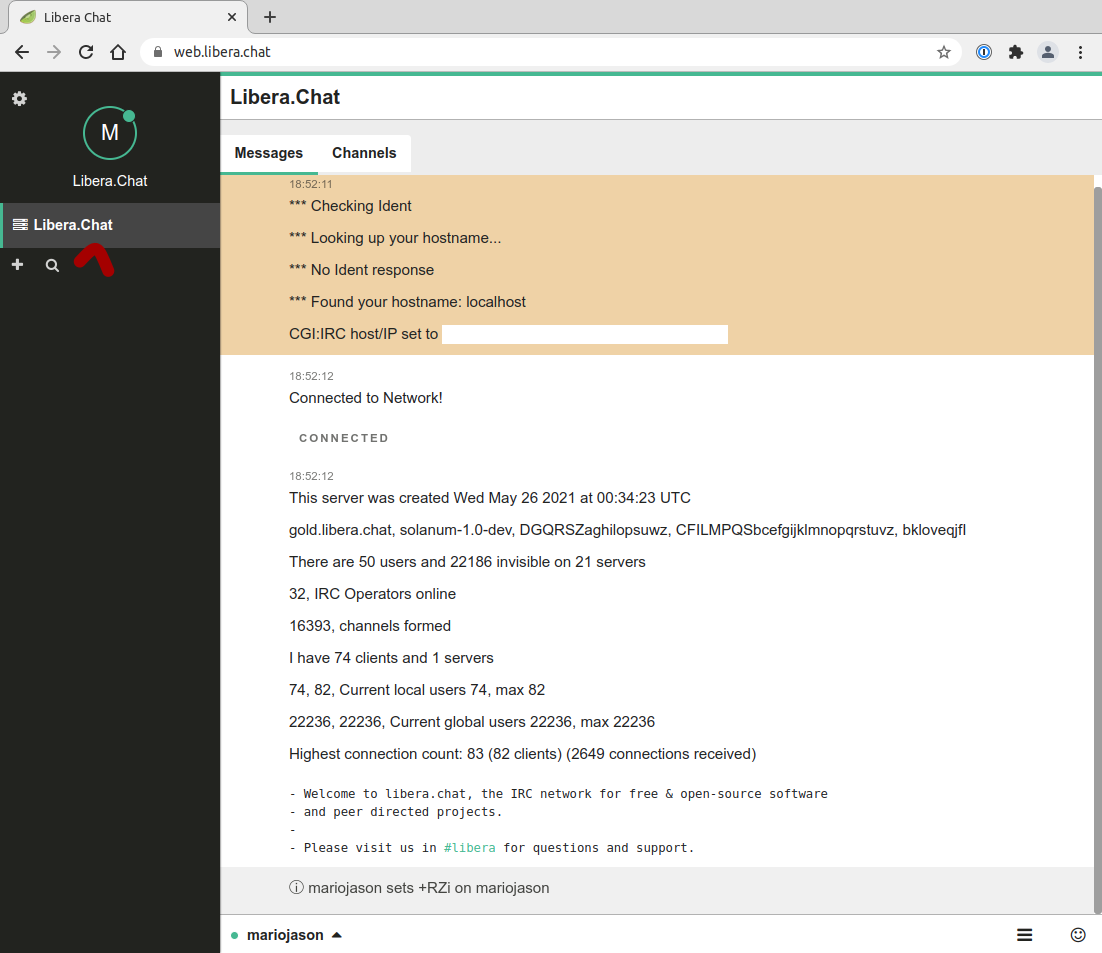
And you should enter the world of irc!
There’ll be a lot of stuff that’ll end with a screen like this.
/quit to quit your connection for example. (Don’t do this yet)/msg NickServ REGISTER <password> <email>, where password will be some complicated password of yours while email is where you put in your email address
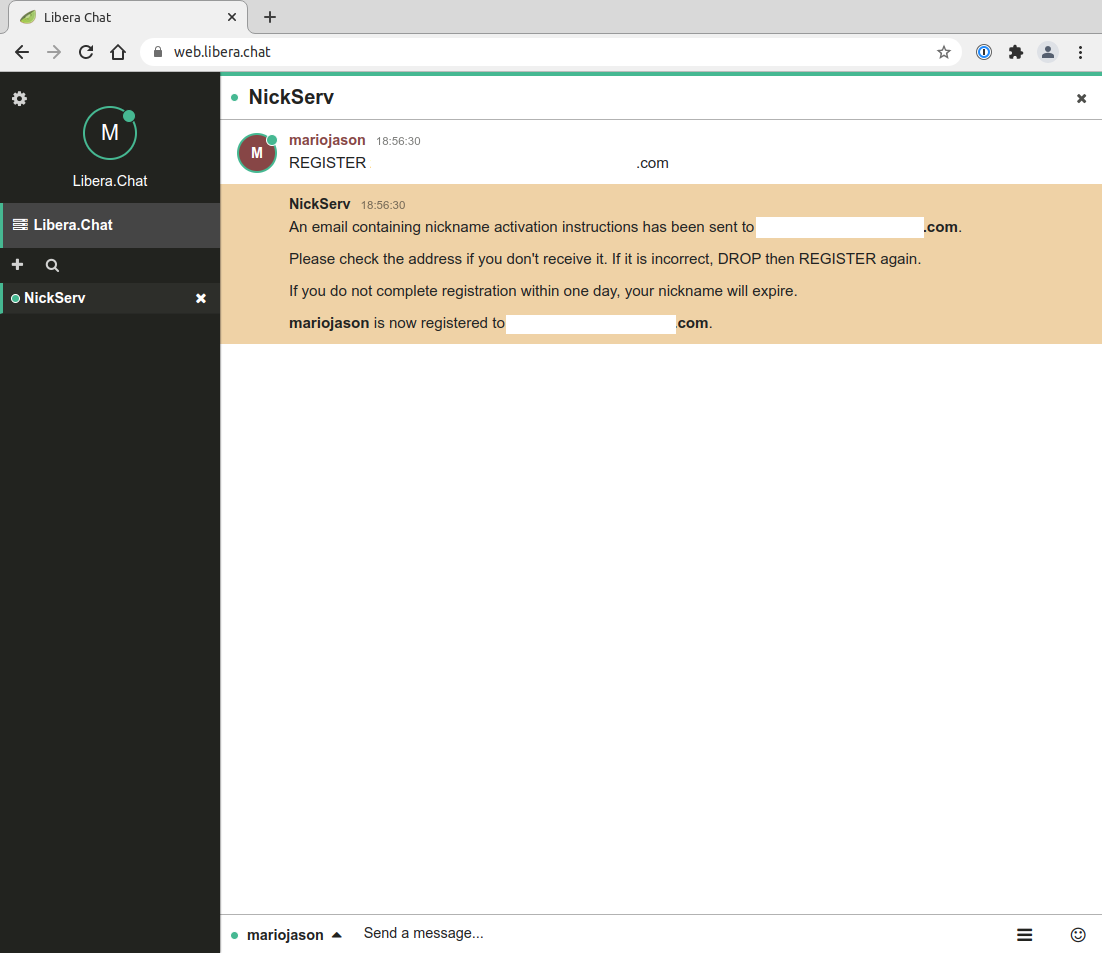
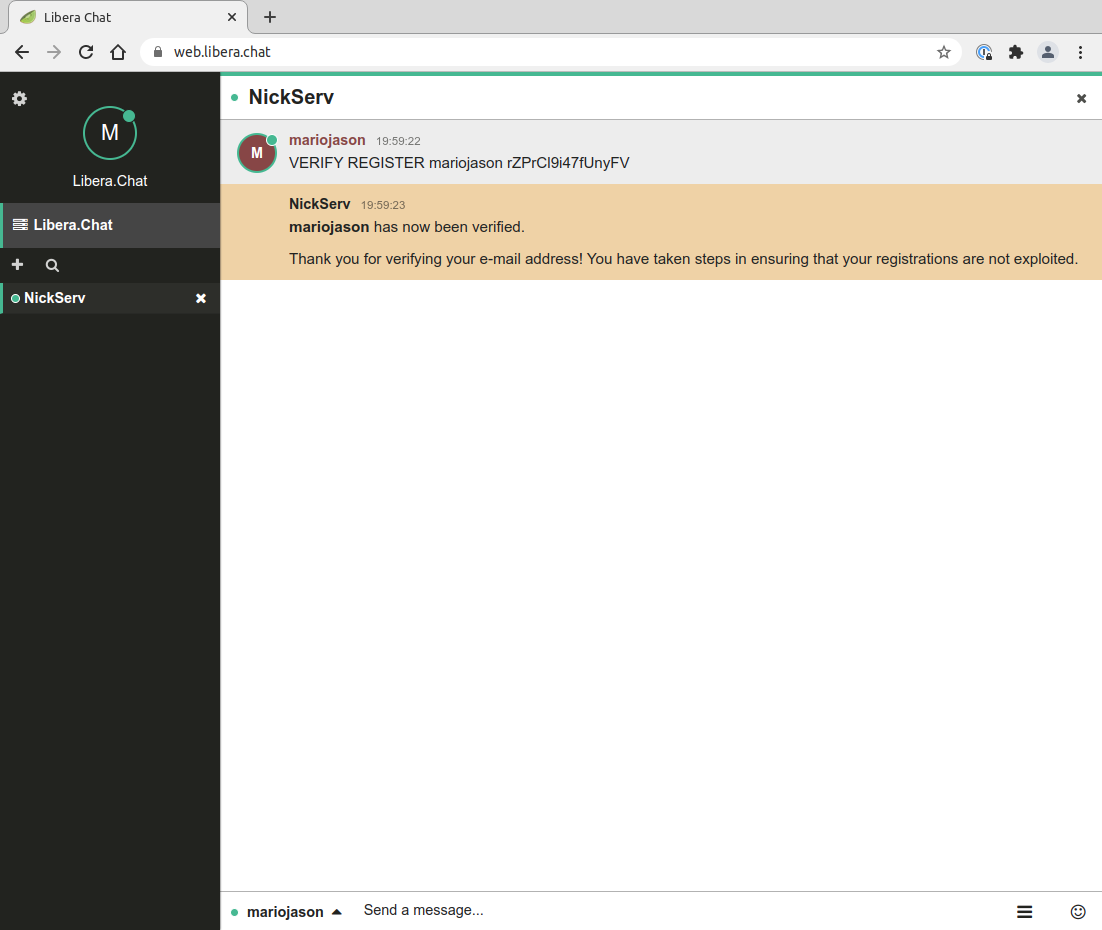
If all works well, Nickserv will reply saying that activation instructions have been sent to your email id, like so (click the NickServ tab on the left to read) …
So hop over and check your mail. This is what you should expect to see.
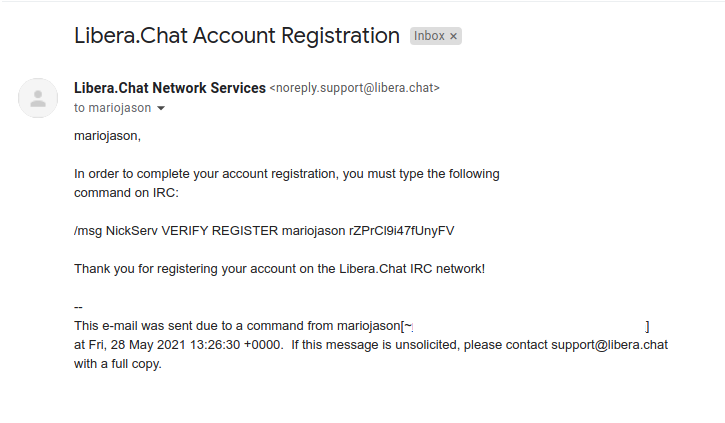
Let’s copy the /msg line and go back to the irc page and paste it in the
chat bar like so …

And voila! You should be verified!
Now that we’re done registering our nickname, quit the connection by typing in
the /quit command and let’s move to …
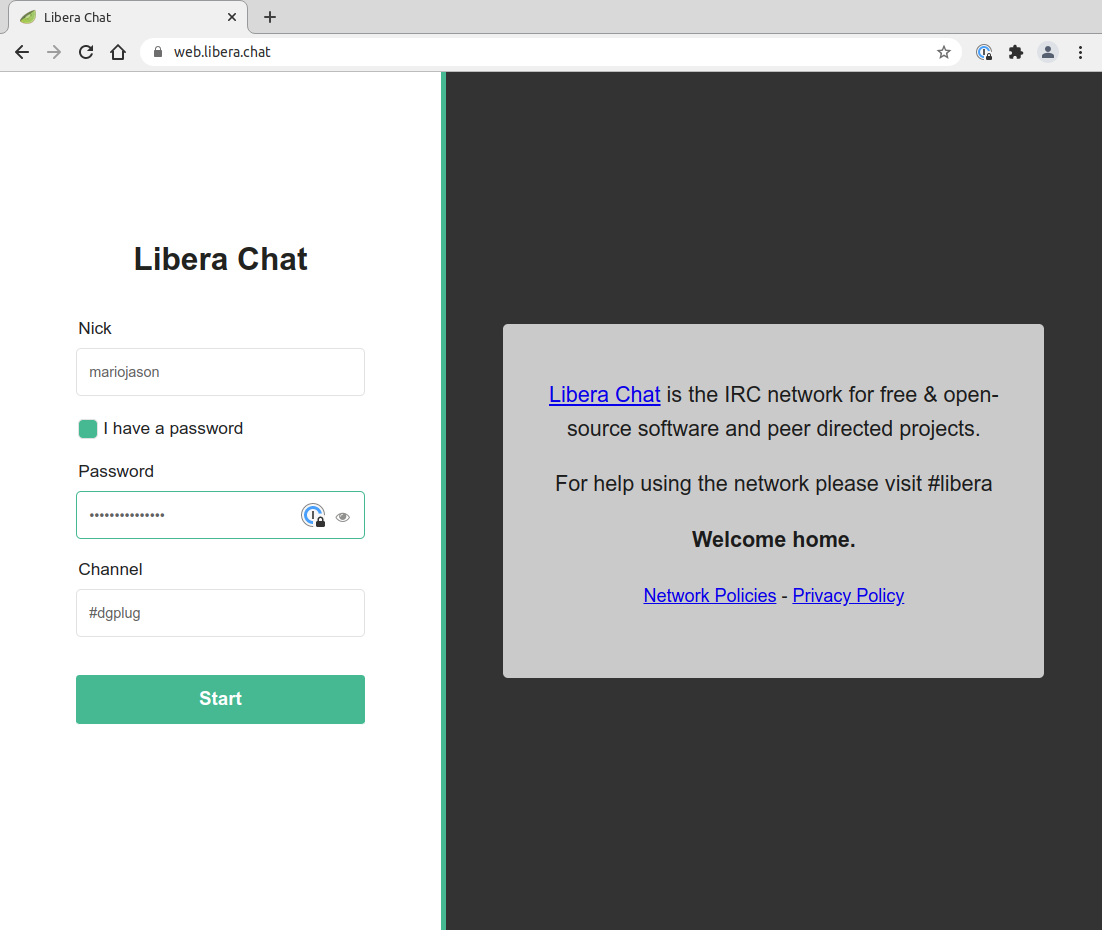
Step 3. Connecting to the DGPLUG channel.
Now we’re back to where we started.
Only this time, fill in all the details.
Put in your nickname
Make sure the I have a password box is checked
Put in your password in the box that appears for you to type in.
Change the channel name to #dgplug
And hit Start!
You should login and you should be switched to a new tab with the #dgplug channel.
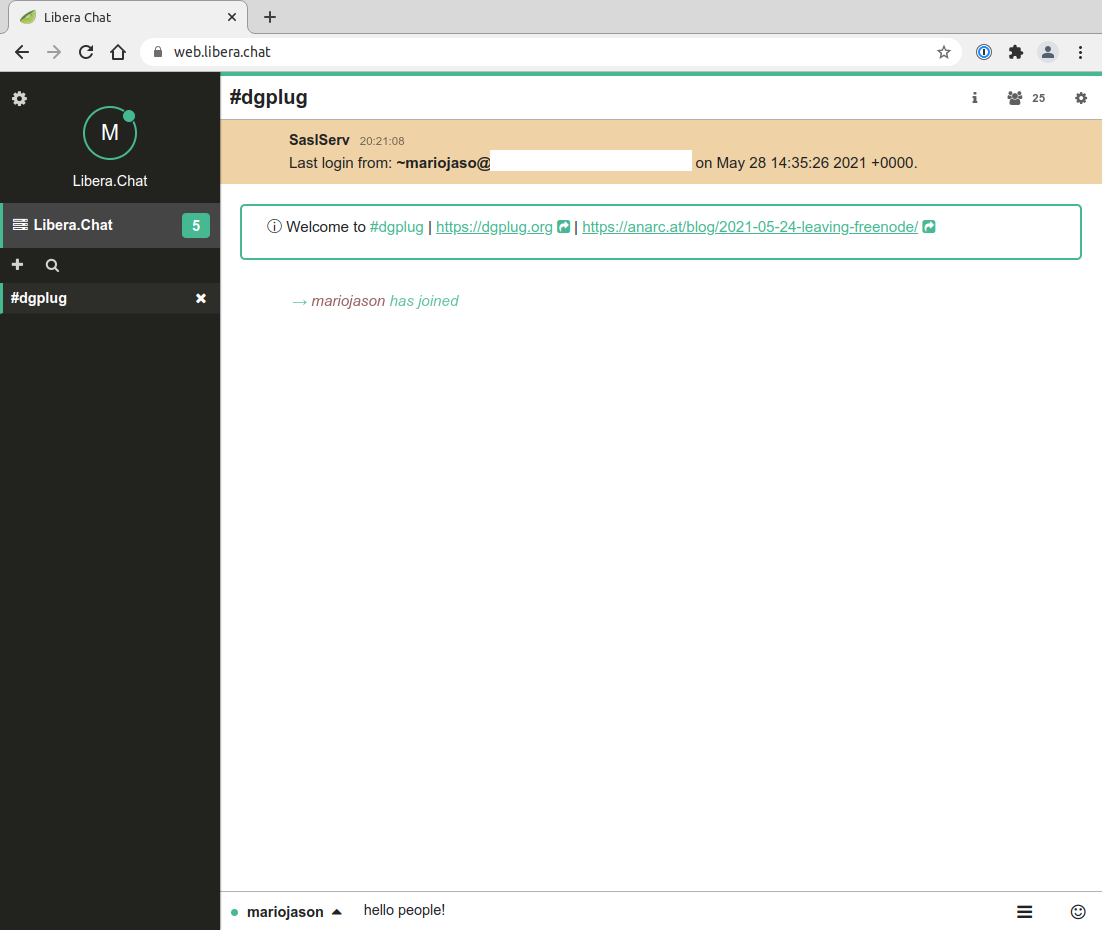
There! You’re in! Welcome! Enjoy your time in the channel :)
Nick Ghosting
If for some reason, your nick lingers on after you are disconnected either due to a bad connection, or due to a netsplit, you will be unable to use your nick again since it already is on the server. To remove the nick from the server, we need to ghost it. To do this, make sure you are authenticated to NickServ and execute the following command:
/msg nickserv ghost your_nick_name your_password